
Table of Contents
Bathroom Renovation: From Waterproofing to Tiling
A bathroom renovation carries more risk than any other room in a flat. A mistake affects not only your apartment but the one below, which is why cutting costs here ends up being the most expensive decision an owner can make. This guide covers where leaks start, how waterproofing is done properly, and the sequence that cannot be rearranged.
In this article
Where leaks start
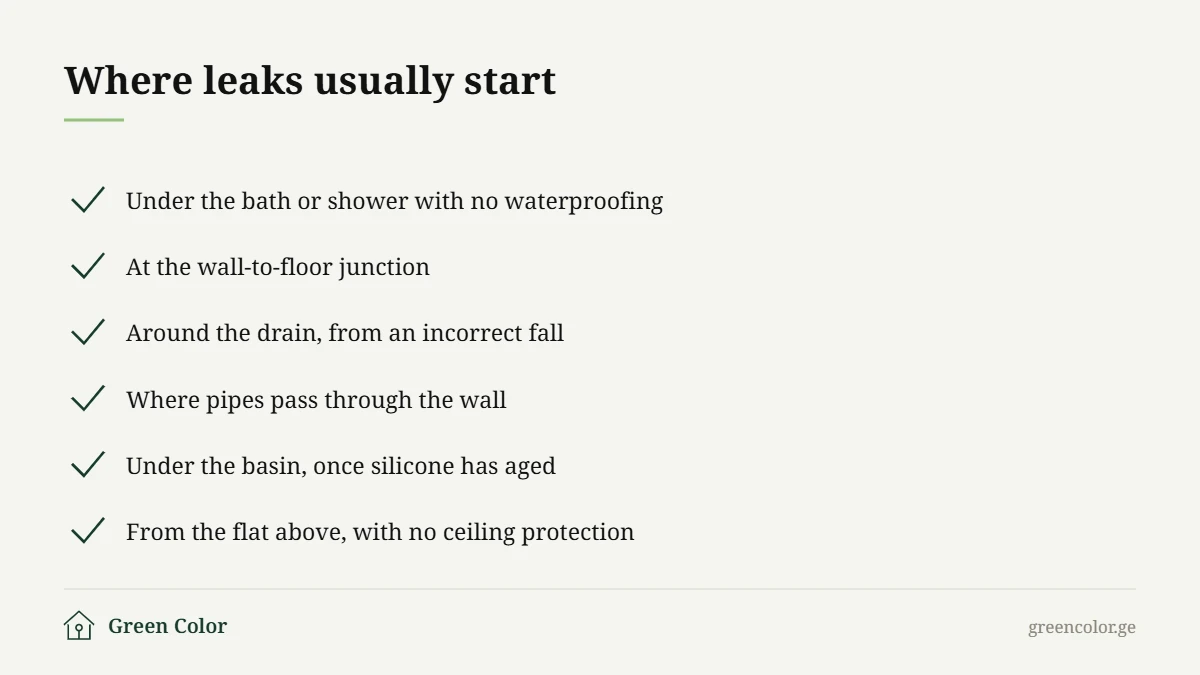
Notice that nearly every item is a junction rather than a surface. Tile itself does not pass water — grout, corners and pipe penetrations do. The quality of waterproofing is therefore decided at the junctions, not by the area covered.
Waterproofing
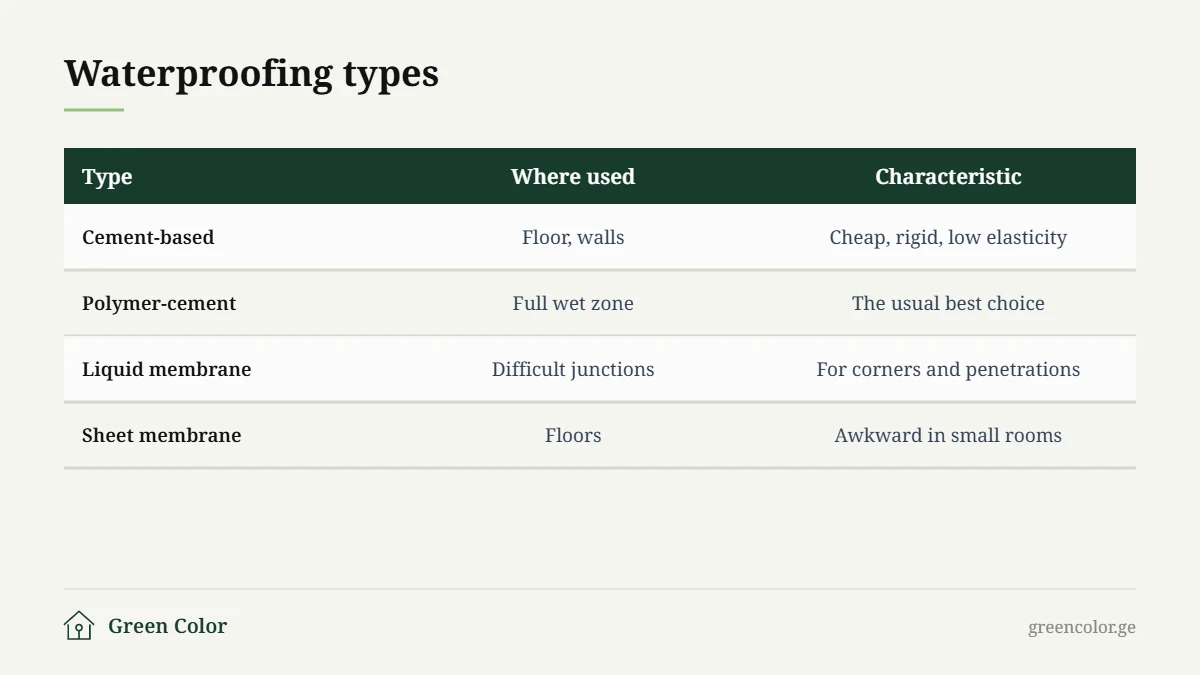
The minimum standard: the whole floor, walls at least 20 cm up, and the full height of the shower zone. Flexible tape or liquid membrane at every corner and pipe penetration. This is the part that disappears once the walls close, so photograph it before tiling.
Falls and drainage
The floor should fall towards the drain at 1–2%, that is 1–2 cm per metre. Less and water stands; more and the tiling visibly tilts. With a linear drain, the fall is needed only in the shower zone rather than across the whole floor.
The order of works

- Strip-out and cleaning — old tile, screed, waterproofing residue.
- Services — water, waste, ventilation, power.
- Waterproofing — full floor, walls at least 20 cm up.
- Screed and falls — 1–2% towards the drain.
- Tiling and grout — flexible sealant in corners, never grout.
- Sanitaryware — fitted after the grout has fully cured.
Ventilation
Humidity in a bathroom regularly exceeds 70%. If the extractor is weak or there is no undercut beneath the door, air does not circulate and mould is only a matter of time. The practical answer is a timer-controlled fan that runs for five to ten minutes after the light goes off.
Electrical safety
Every circuit in a wet zone must be protected by a 30 mA residual current device. Sockets are not placed immediately beside a bath or basin — 60 cm is the minimum separation. This is a safety requirement, not a preference.
The technical detail of waterproofing
A bathroom renovation stands or falls on its waterproofing. The governing principle in waterproofing practice is continuity: the protected surface must form a single unbroken tray that water cannot escape.
In practice that means the full floor, walls at least 20 cm up, the full height of the shower zone, and 15 cm above the rim around a bath. Every corner and pipe penetration needs flexible tape, because those are the points where the structure micro-moves.
The material goes on in two coats, applied crosswise, the second perpendicular to the first. Drying time between coats is set by the manufacturer, and shortening it defeats the purpose of the whole exercise.
Ventilation and preventing mould
Humidity in a wet room reaches 90% after a shower. If the air is not replaced within twenty to thirty minutes, condensation settles on the coldest surface — usually a corner of an external wall or the ceiling. That is where mould appears.
The technical minimum is an extractor capable of six to eight air changes an hour, plus a path for replacement air: an undercut beneath the door or a vent grille in it. A timer running the fan for ten to fifteen minutes after the light goes off is the most practical arrangement.
Acceptance tests
- Water test — plug the drain and flood the floor for 24 hours
- Paper test on the ventilation — a sheet should hold against the grille
- Level test — water should run to the drain from every point
- Socket test by tripping the RCD
Those four tests take half an hour and prevent years of trouble. A bathroom renovation should be signed off on that basis, not on a visual inspection.
Frequently asked questions
How long does a bathroom renovation take?
A standard 4–6 m² wet room takes three to four weeks. Five to seven days of that is curing time for waterproofing and screed, and that period cannot be shortened.
Can new tile be laid over old?
Technically yes, but we would advise against it: the condition of the waterproofing stays unknown, the floor level rises and the door may no longer clear it. A wet room is not where savings pay off.
What tile size suits a small bathroom?
Large format, around 60×120, leaves less grout and makes the room read larger. On the floor, slip resistance matters more than size.
Planning a bathroom? Get in touch — survey and estimate are free. See also how to estimate renovation costs.